The previous article outlines the multiple admission controls active in a virtual infrastructure. One that always interested me in particular is the admission control feature that verifies resource availability. With the introduction of vCloud director another level of resource construct were introduced. Along with Provider virtual datacenter (vDC) and Organization vDCs, allocation models were introduced. An allocation model defines how resources are allocated from the provider vDC. An organization vDC must be configured with one of the following three allocation models: “Pay As You Go”, “Allocation Pool” and “Reservation Pool”. It is out of the scope to describe all three models, please visit Chris Colotti’s blog or Yellow Bricks to read more about allocation models.
As mentioned before the distinction between each of the allocation models is how resources are consumed. Depending on the chosen allocation model reservations and limits will be set on resource pool, virtual machine level, or both. One of the most interesting allocation model is the Allocation Pool model as it sets reservations on both resource pool level and virtual machine level simultaneously. During configuration of the allocation pool model, an amount of guaranteed resources can be specified. (Guaranteed is the vCloud term for vSphere reservation). The question I was given is will lowering the default value of 100% guaranteed memory result in an increase of more virtual machines inside the Organization vCD? And the answer lies within the working of vSphere admission control.
Allocation Pool model settings
By default the Allocation Pool model sets a 100% memory reservation on both resource pool level and virtual machine level. By lowering the default guarantee, it allows for opportunistic memory allocation on both resource pool level and virtual machine level. Creating this burstable space (resources available for opportunistic access) usually provides an higher consolidation ratio of virtual machines, however due to the simultaneous configuration of reservation on both resource pool and virtual machine level, this is not the case.
Virtual machine level reservation
During power-on operation admission control checks if the resource pool can satisfy the virtual machine level reservation. Because expandable reservation is disabled in this model, the resource pool is not able to allocate any additional resources from the provider vDC. Therefor the virtual machine memory reservation can only be satisfied by the resource pool level reservation of the organization vDC itself. When a virtual machine is using memory protected by a virtual machine level reservation, this memory is withdrawn from the resource pool-level reservation. If the resource pool does not have enough available memory to guarantee the virtual machine reservation, the power-on operation fails. Let’s use a scenario to visualize the process a bit better.
Scenario
An organization vCD is created with the Allocation Pool model and the memory allocation is set to 20GB; the memory guarantee is set to 50%. These settings result in a resource pool memory limit of 20GB and a memory reservation of 10GB. When powering up a 2GB virtual machine, 1GB of reserved resources will be allocated to that virtual machine and withdrawn from the available reserved memory pool.

Admission control allows to power-on virtual machines until the reserved memory pool is reduced to zero. Following the previous example, virtual machine 2 is powered on. The resource pool providing resources to the organization vDC has 9 GB available in its pool of reserved memory. Admission control allows the power-on operation of the virtual machine as this pool can provide the reserved resources specified by the virtual machine level reservation.

During each power-on operation 1GB of reserved memory is withdrawn from the reserved memory pool available to the organization vDC. Resulting in admission control allowing to power on ten virtual machines. When attempting to deploy virtual machine 11, admission controls fails the power-on operation as the organization vDC has no available reserved memory to satisfy the virtual machine level reservation.

Note: This scenario excludes the impact of memory overhead reservation of each virtual machine. Under normal circumstances, the number of virtual machines that could be powered on would be close to 8 instead of 10 as the reserved pool available to the organization vDC is used to satisfy the memory overhead reservation of each virtual machine as well.
Because the guarantee setting of the Allocation Pool model configures resource pool and virtual machine memory reservation settings simultaneously, the supply and demand of reserved memory resources are always equal regardless of the configured percentage setting. Therefore offering opportunistic access to resources inside the organization vDC does not allow an increase of the number of virtual machines inside the organization vDC.
The next question arises, why should you lower the percentage of guaranteed resources? Providing burstable space increases the number of Organization vCDs inside the Provider vDC.
Resource pool memory reservation
Upon creation resource pools claim and withdraw the configured reserved resources from their parent instantaneously. This memory cannot be provided or distributed to other organization vDCs regardless of utilization of these resources.

Although new resource constructs are introduced in a vCloud environment, consolidation ratios and resource management still leverage traditional vSphere resource management constructs and rules. Chris Colotti and I are currently working on a technical paper describing the allocation models in details and the way they interact with vSphere resource management. We hope to see this published soon.
The Admission Control Family
It’s funny how sometimes something, in this case a vSphere feature, becomes a “trending topic” on any given day or week. Yesterday I was discussing admission control policies with Rawlinson Riviera (@punchingclouds) and we discussed how to properly calculate a percentage for the percentage based admission control with keeping consolidation ratios in mind. And today Gabe published an article about his misconception of admission control, which triggered me to write an article of my own about admission control.
When discussing admission control usually only HA admission control policies are mentioned. However, HA isn’t the only feature using some sort of admission control. Storage DRS as well as DRS and the ESX(i) host have each their own admission control. Let’s take a closer look what admission control actually is and see how each admission control fits in the process of a virtual machine power-on operation.
What’s the function of admission control? I like to call it our team of virtual bouncers. Admission control is there to ensure that sufficient resources are available for the virtual machine to function within it’s specified parameters / resource requirements. The last part about the parameters and requirements is the key to understand admission control.
During a virtual machine power-on or a move operation, admission control checks if sufficient unreserved resources are available before allowing a virtual machine to power on or moved into the cluster. If a virtual machine is configured with reservation, this could be CPU, memory or even both, admission control needs to make sure that the datastore cluster, compute cluster, resource pool and host can provide these resources. If one of these constructs cannot allocate and provide these resources, then the datastore cluster, compute cluster, resource pool or host cannot provide an environment where the virtual machine can operate within its required parameters. In other words, the moment a virtual machine is configured to have an X amount of resources guaranteed, you want the environment to actually oblige to that wish and that’s why admission control is developed.
As a vSphere environment can be configured in many different ways, each feature sports its own admission control, as you do not want to introduce dependencies for such a crucial component. Let’s take a closer look at each admission control feature and their checkpoints.

High Availability Admission control: During a virtual machine power-on operation, HA checks if the virtual machine can be powered-on without violating the required capacity to cope with a host failure event. Depending on the HA admission control policy, HA checks if the cluster can provide enough unreserved resources to satisfy the virtual machine reservation. The internals of each type Admission control policies is outside the scope of this article, more information can be found in the clustering deep dive books or online at Yellow-bricks.
After HA admission control gives the green light, it’s up to Storage DRS admission control if the virtual machine is placed in a Storage DRS datastore cluster. Storage DRS admission control checks datastore connectivity amongst the hosts in the datastore cluster and selects the hosts with the highest datastore connectivity to ensure the highest portability of a virtual machine. If there are multiple hosts with the same number of datastore connected it selects the host with the lowest compute utilization.
Up next is DRS admission control to review the cluster state. DRS ensures that sufficient unreserved resources are available in the cluster before allowing the virtual machine to power on. If the virtual machine is placed inside a resource pool, DRS checks if the resource pool can provide enough resources to satisfy the reservation. Depending on the setting “expandable reservation” the resource pool checks its own pool of unreserved resources or borrows resources from its parent. If a virtual machine is moved into the cluster and EVC is enabled in the DRS cluster, EVC admission control verifies if the applied EVC mode to the virtual machine does not exceed the current EVC baseline of the cluster. DRS selects a host based on configured VM-VM and VM-Host affinity rules.
Last step is Host admission control. In the end it’s the host that actually needs to provide the compute environment to allow the virtual machine to operate in. A cluster can have enough unreserved resources available, but it can be in a fragmented stage, where there are not enough resources available per host to satisfy the virtual machine reservation. To solve this problem a DRS invocation is triggered to recommend virtual machine migrations to re-balance the cluster and free up space on a particular host for the new virtual machine. If DRS is not enabled, the Host rejects the virtual machine due to the inability to provide the required resources. Host admission control also verifies is the virtual machine configuration is compatible with the host. The VM networks and datastores must be available in order to accommodate the virtual machine. The virtual machine compatibility list also the suitable host if the virtual machine is placed inside a “must” VM-Host affinity rules, admission control checks if its listed in the compatibility list. The last check is if the host can create a VM-swap file on the designated VM swap location.
So there you have it before a virtual machine is powered-on or moved into a cluster, all these admission controls will make sure the virtual machine can operate within its required parameters and no cluster feature requirement is being violated.
Mixing Resource Pools and Virtual Machines on the same hierarchical level
One of most frequent questions I receive is about mixing resource pools and virtual machines at the same hierarchical level. In almost all of the cases we recommend to commit to one type of child objects. Either use resource pools and place virtual machines within the resource pools or place only virtual machines at that hierarchical level. The main reason for this is how resource shares work.
Shares determine the relative priority of the child-objects (virtual machines and resource pools) at the same hierarchical level and decide how excess of resources (total system resources – total Reservations) made available by other virtual machines and resource pools are divided.
Shares are level-relative, which means that the number of shares is compared between the child-objects of the same parent. Since, they signify relative priorities; the absolute values do not matter, comparing 2:1 or 20.000 to 10.000 will have the same result.
Lets use an example to clarify. In this scenario the DRS cluster (root resource pool) has two child objects, resource pool 1 and a virtual machine 1. The DRS cluster issues shares amongst its children, 4000 shares issued to the resource pool, 2000 shares issued to the virtual machine. This results in 6000 shares being active on that particular hierarchical level.

During contention the child-objects compete for resources as they are siblings and belong to the same parent. This means that the virtual machine with 2000 shares needs to compete with the resource pool that has 4000 shares. As 6000 shares are issued on that hierarchical level, the relative value of each child entity is (2000 of 6000 shares) = 33% for the virtual machine and (4000 shares of 6000=66%) for the resource pool.
The problem with this configuration is that the resource pool is not only a resource consumer but also a resource provider. So that it must claim resources on behalf of its children. Expanding the first scenario, two virtual machines are placed inside the resource pool.

The Resource Pool issues shares amongst its children, 1000 shares issued to virtual machine 2 (VM2) and 2000 shares issued to virtual machine 3 (VM3). This results in 3000 shares being active on that particular hierarchical level.
During contention the child-objects compete for resources as they are siblings and belong to the same parent which is the resource pool. This means that VM2 owning 1000 shares needs to compete with VM3 that has 2000 shares. As 3000 shares are issued on that hierarchical level, the relative value of each child entity is (1000 of 3000 shares) = 33% for VM2 and (2000 shares of 3000=66%) for VM3.
As the resource pool needs to compete for resources with the virtual machine on the same level, the resource pool can only obtain 66% of the cluster resources. These resources are divided between VM2 and VM3. That means that VM2 can obtain up to 22% of the cluster resources (1/3 of 66% of the total cluster resources is 22%).
Forward to scenario 3, two additional virtual machines are created and are on the same level as Resource Pool 1 and virtual machine 1. The DRS cluster issues 1000 shares to VM4 and 1000 shares to VM5.

As the DRS cluster issued an additional 2000 shares, the total issued shares is increased to 8000 shares. Resulting in dilution of the relative share values of Resource Pool 1 and VM1. Resource pool 1 now owns 4000 shares of a total 8000 bringing the relative value down from 66% to 50%. VM1 owns 2000 shares of 8000, bringing its value down to 25%. Both VM4 and VM5 own each 12.5% of shares.
As resource pool 1 provides resources to its child-object VM2 and VM3, fewer resources are divided between VM2 and VM3. That means that in this scenario VM2 can obtain up to 16% of the cluster resources (1/3 of 50% of the total cluster resources is 16%). Introducing more virtual machines to the same sibling level as the Resource Pool 1, will dilute the resources available to virtual machines inside Resource Pool 1.
This is the reason why we recommend to commit to a single type of entity at a specific sibling level. If you create resource pools, stick with resource pools at that level and provision virtual machines inside the resource pool.
Another fact is that a resource pool receives shares similar to a 4-vcpu 16GB virtual machine. Resulting in a default share value of 4000 shares of CPU and 163840 shares of memory when selecting Normal share value level. When you create a monster virtual machine and place it next to the resource pool, the resource pool will be dwarfed by this monster virtual machine resulting in resource starvation.
Note: Shares are not simply a weighting system for resources. All scenarios to demonstrate way shares work are based on a worst-case scenario situation: every virtual machine claims 100% of their resources, the system is overcommitted and contention occurs. In real life, this situation (hopefully) does not occur very often. During normal operations, not every virtual machine is active and not every active virtual machine is 100% utilized. Activity and amount of contention are two elements determining resource entitlement of active virtual machines. For ease of presentation, we tried to avoid as many variable elements as possible and used a worst-case scenario situation in each example.
So when can it be safe to mix and match virtual machines and resource pools at the same level? When all child-objects are configured with reservation equal to their configuration and limits, this result in an environment where shares are overruled by reservation and no opportunistic allocation of resources exist. But this designs introduces other constraints to consider.
Storage DRS load balance frequency
Storage DRS load balancing frequency differs from DRS load balance frequency, where DRS runs every 5 minutes to balance CPU and memory resources, Storage DRS uses a far more complex load balancing scheme. Let’s take a closer look at Storage DRS load balancing.
Default invocation period
The invocation period of Storage DRS is every 8 hours and uses what’s called past-day statistics. Storage DRS triggers a load balancing evaluation process if a datastore exceeds the space utilization threshold. Storage DRS load balances space utilization of the datastores and if I/O metric is enabled, load balances on I/O utilization as well.
Space utilization and I/O load on a datastore are two different load patterns, therefore Storage DRS uses different methods to accumulate and analyze IO load patterns and space utilization of the datastores within the datastore cluster.
Space load balancing statistic collection
Analyzing space utilization is rather straightforward; Storage DRS needs to understand the growth rate of each virtual machine and the utilization of each datastore. It collects information from the vCenter database to understand the disk usage and file structure of each virtual machine. Each ESXi host reports datastore utilization at a frequent interval and this is stored in the vCenter database as well. Storage DRS checks whether the datastore utilization is above the user-set threshold. When generating a load balance recommendation, Storage DRS knows where to move a virtual machine as it knows the current space growth of virtual machines on destination datastores, preventing a threshold violation direct after the placement.
I/O load utilization is a different beast. I/O load may grow over time, however the datastore can experience a temporary increase of load. How does Storage DRS handle these spikes? Enter past-day statistics!
I/O load balancing statistic collection
Storage DRS uses two main information sources for I/O load balancing statistic collection, vCenter and the SIOC injector. vCenter statistics is uses to understand the workload each virtual disk is generating, this is called workload modeling. SIOC injector is used to understand the device performance and this is called device modeling. See “Impact of load balancing on datastore cluster configuration” for more info about device and workload modeling. Data of workload and device modeling is aggregated in a performance snapshot and is used as input for generating migration recommendations.
Migrating virtual machine disk files takes time and most of all it impacts the infrastructure, migrating based on peak value is the last thing you want to do when you are introducing long-term high impact workloads. Therefore Storage DRS starts to recommend I/O load-related recommendations once an imbalance persists for some period of time.
To avoid being caught out by peak load moments, Storage DRS does not use real-time statistics. It aggregates all the data points collected over a period of time. By using 90th percentile values, Storage DRS filters out the extreme spikes while still maintaining a good view of the busiest period of that day as this value translate to the lowest edge of the busiest period.
As workloads shift during the day enough information needs to be collected to make a good assessment of the workloads. Therefore Storage DRS needs at least 16 hours of data before recommendation are made. By using at least 16 hours worth of data Storage DRS has an enough data of the same timeslot so it can compare utilization of datastores for example: datastore 1 to datastore 2 on Monday morning at 11:00. As 16 hour is 2/3 of the day Storage DRS receives enough information to characterize the performance of datastore on that day. But how does this tie in with the 8 hour invocation period?
8-hour invocation period and 16 hours worth of data
Storage DRS uses 16 hours of data, however this data must be captured in the current day otherwise the performance snapshot of the previous day is used. How is this combined with the 8-hour invocation periods?

This means that technically, the I/O load balancing is done every 16 hours. Usually after midnight, after the day date, the stats are fixed and rolled up. This is called the rollover event. The first invocation period (08:00) after the rollover event uses the 24 hours statistics of the previous day. After 16 hours are passed of the current day, Storage DRS uses the new performance snapshot and may evaluate moves.
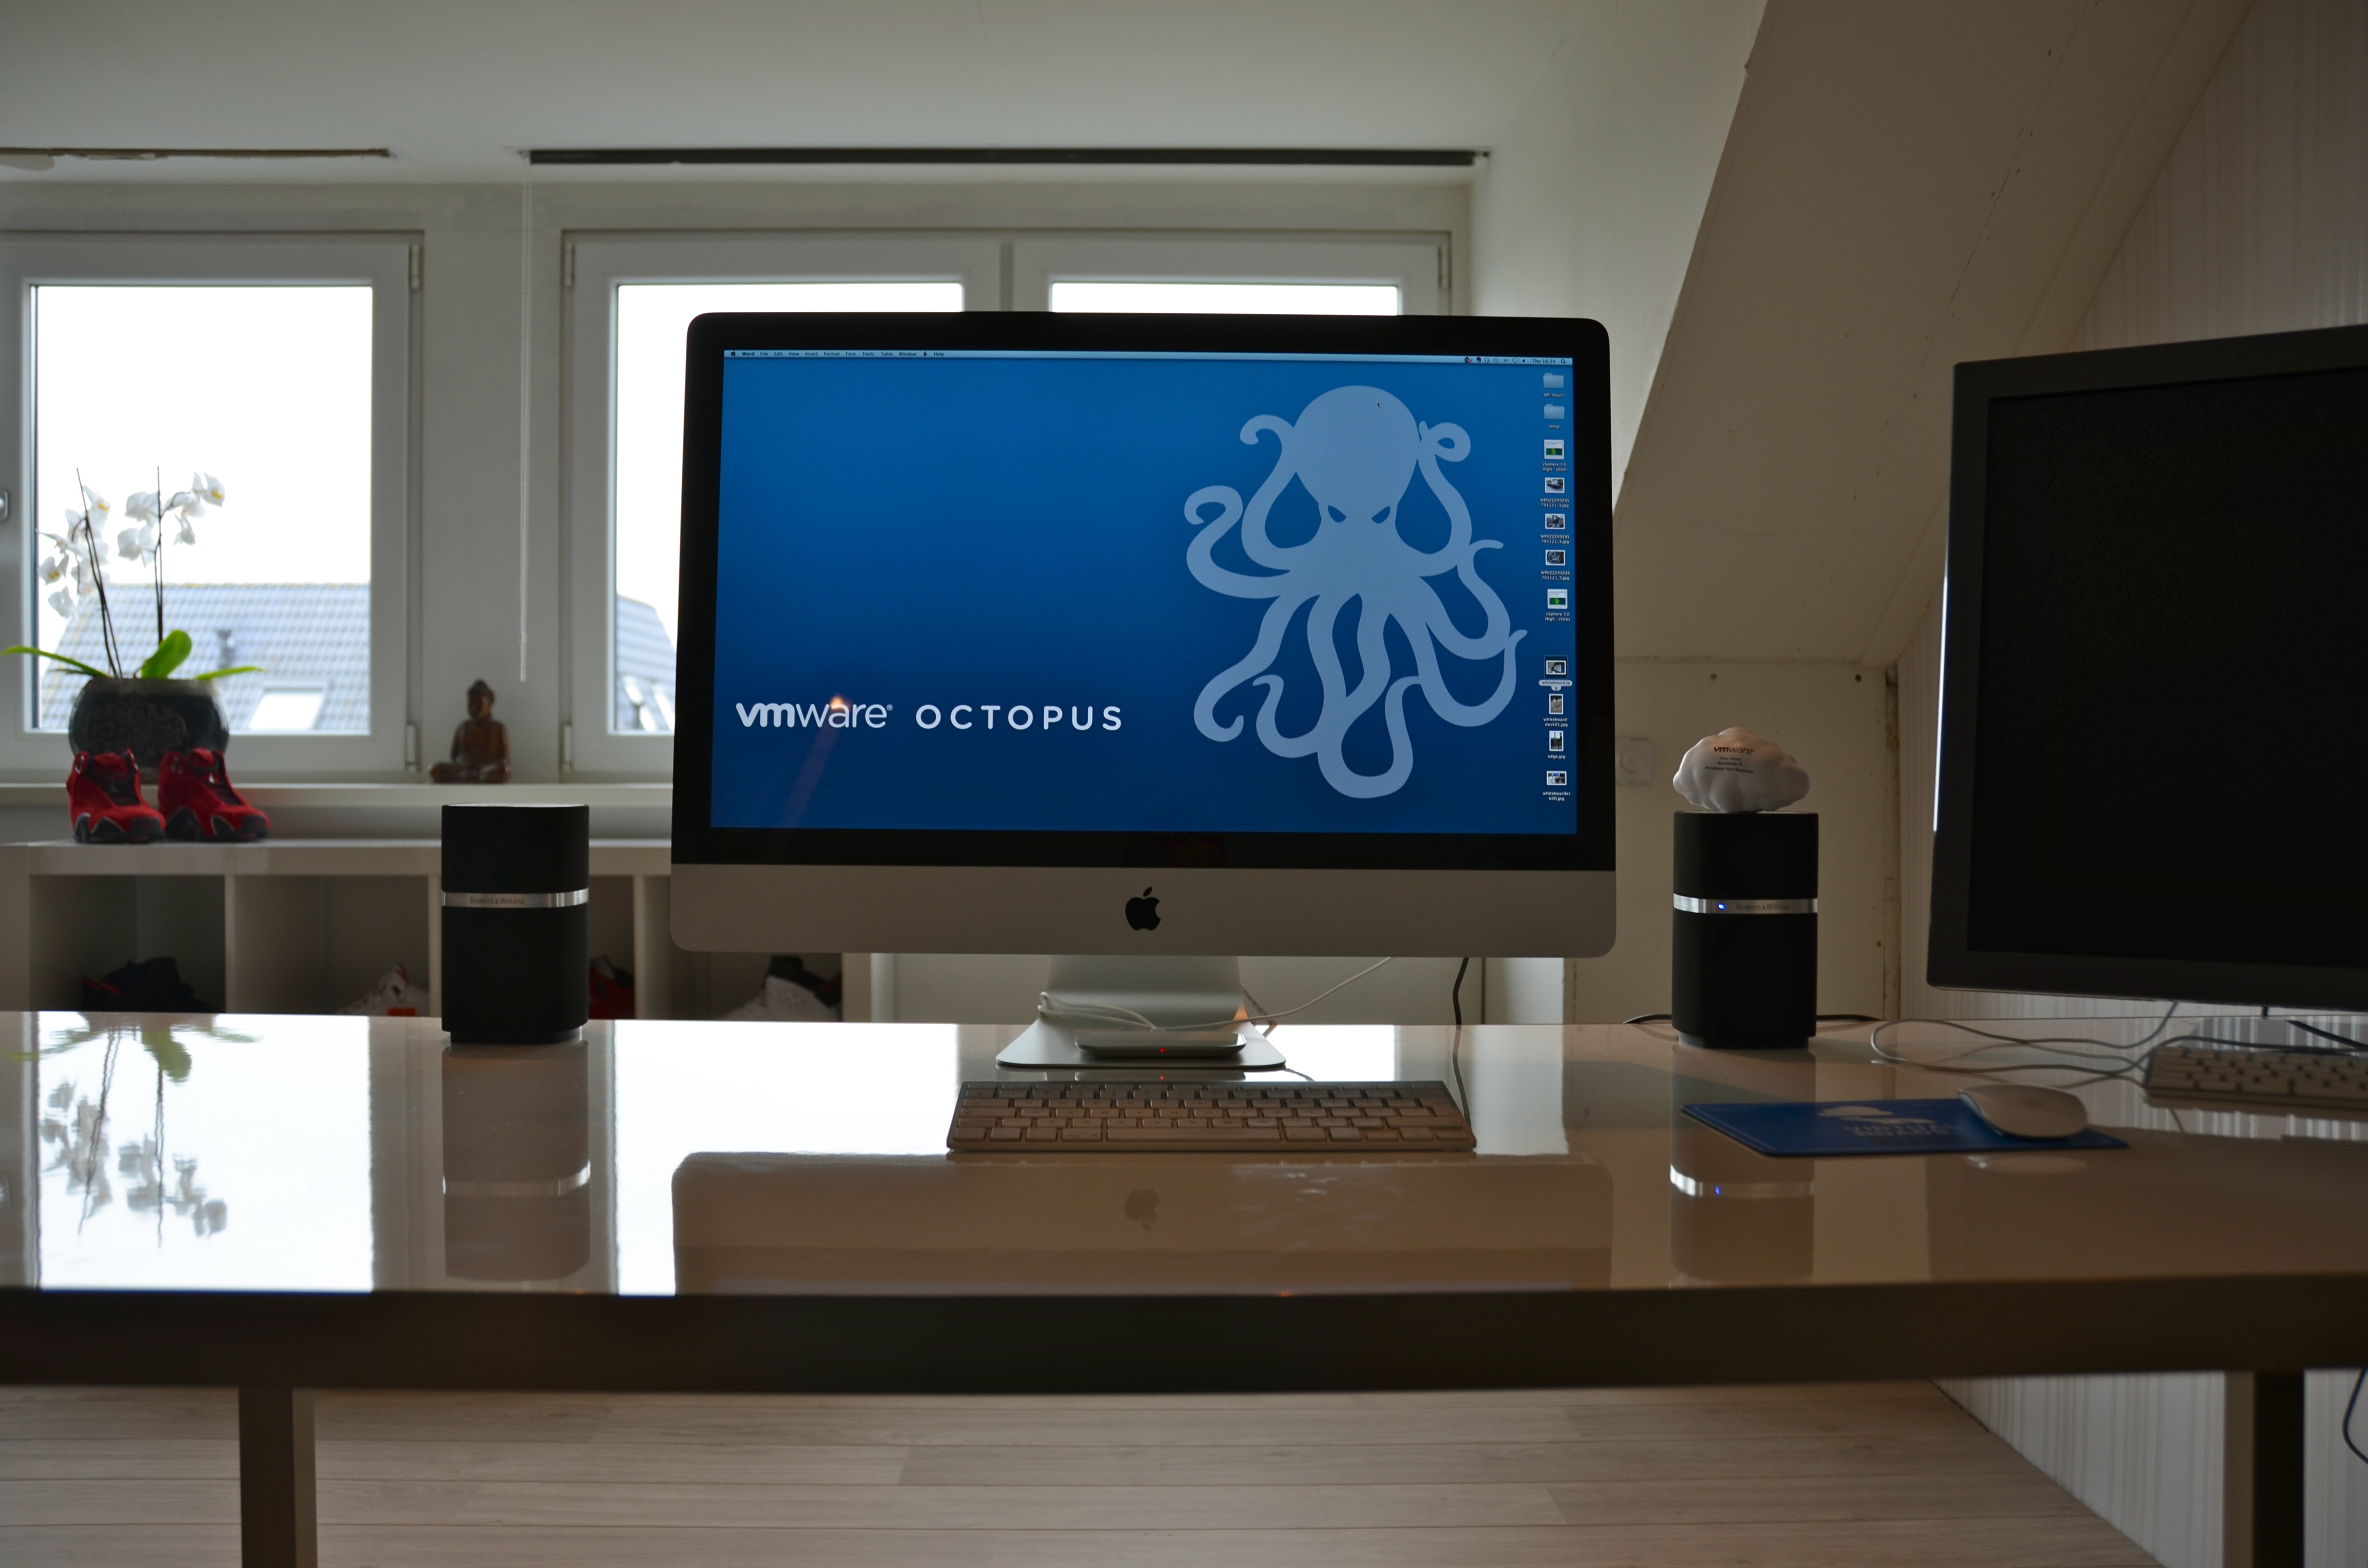
Whiteboard desk
As I’m an avid fan of “post your desk topics \ workspace ” forum threads, I thought it might be nice to publish a blog article about my own workspace. I always love to see how other people design their work environment and how they customize furniture to suit their needs. Hopefully you can find some inspiration in mine.
Last year I decided to refurbish my home office. To create a space that enables me to do my work in the most optimum way, and of course that is pleasing to the eye. The first thing that came to mind was a whiteboard and a really big one. So I needed to build a wall to hang the whiteboard, as the room didn’t had any wall that could hold a whiteboard big enough. After completion of the wall, a 6 x 3 feet wide whiteboard found its way to my office.

Although its roughly 5 to 6 feet away from my desk, I realized I didn’t use it enough due to distance. Sitting behind the desk while on the phone or just using my computer, I found myself scribbling on pieces of paper instead of getting out of my chair and walk over to the whiteboard. Therefor I needed a small whiteboard I could grab and use at my desk. It seemed reasonable, however I like minimalistic designs where clutter is removed as much as possible. I needed to come up with something different; enter the whiteboard desk!

Whiteboard desk
Instead of buying a mini whiteboard that needs to be stored when not used, I decided to visit my local IKEA and see what’s available. Besides “show your desk” threads I hit ikeahackers.net on a daily basis. While looking at tables, I noticed that the IKEA kitchen department sells customized tabletops. Each dimension is possible in almost every shape. I decided to order a 7 feet by 3 feet high-gloss white tabletop with a stainless steel edge. The Ikea employee asked where to put the sink, she was surprised when I told her that the tabletop was going to function as a desk.

I chose to order the 2 inch thick tabletop as I need to have a desktop that is sturdy enough to hold the weight of a 27” I-mac and a 30” TFT screen. The stainless steel edge fits snug around the desk and covers each side; it doesn’t stick out and is not noticeable when typing. It looks fantastic! However the downside is the price, it was more expensive than the tabletop itself. The alternative is a laminate cover that looks like it will be worn out easily. While spending most of my time behind my desk I thought it was worth the investment of buying the real thing.
The high-gloss finish acts as the whiteboard surface and works like a charm with any whiteboard markers. I left notes on my desk for multiple days and could be removed without leaving a trace.

The tabletop rest on two IKEA Vika Moliden stands, due to the cast of the shadow its very difficult to notice that the color of the stands do not exactly match the color as the stainless steel edge.

The whiteboard desk is just an awesome piece of furniture. When on the phone I can take notes on my desk while immediately drawing diagrams next to it. It saves a lot of trees, saves a lot of time scrambling for a piece of paper, and a pen and decreases clutter on the desk. The only thing you need to do when building a whiteboard desk is to banish all permanent markers in your office. 🙂
It would be awesome to see what your workspace looks like. What do you love about your workspace and maybe show your own customizations? I would love to see blogs articles pop up describing the workspace of bloggers. Please post a link to your blog article in the comment section.